Jawa's Depot
Veracity Labs x BRrogers x 7Chambers Luke Hero MoM Chassis with crystal chamber
Veracity Labs x BRrogers x 7Chambers Luke Hero MoM Chassis with crystal chamber
Couldn't load pickup availability
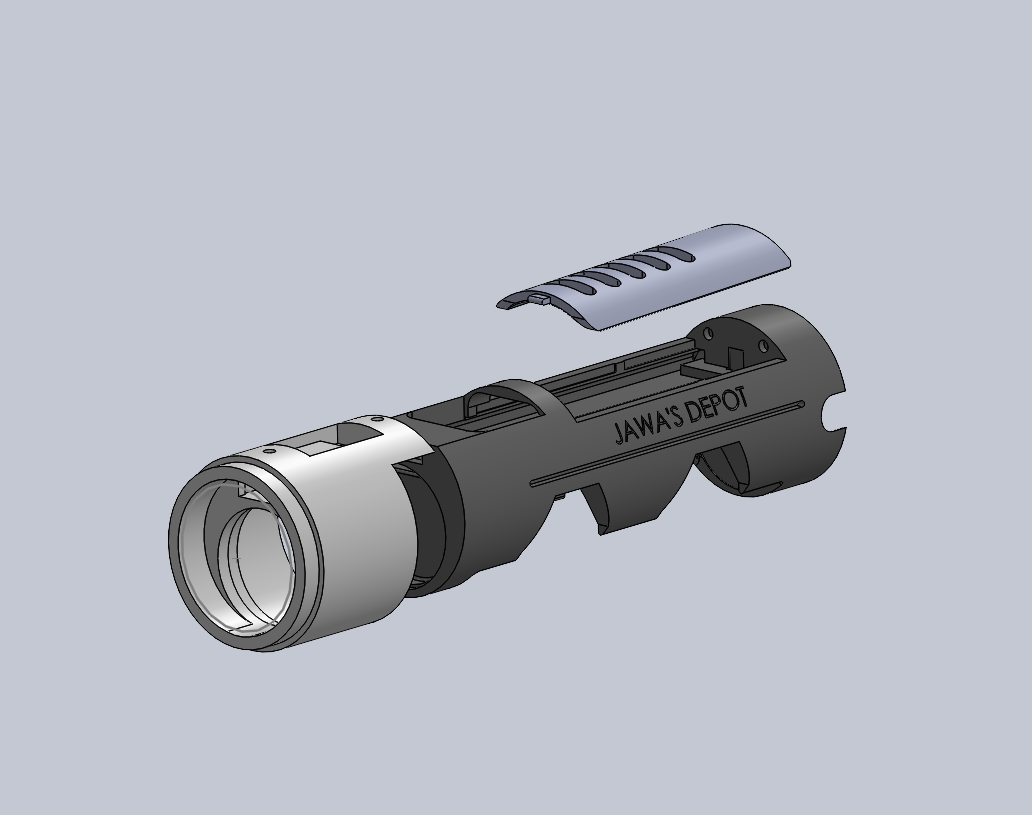
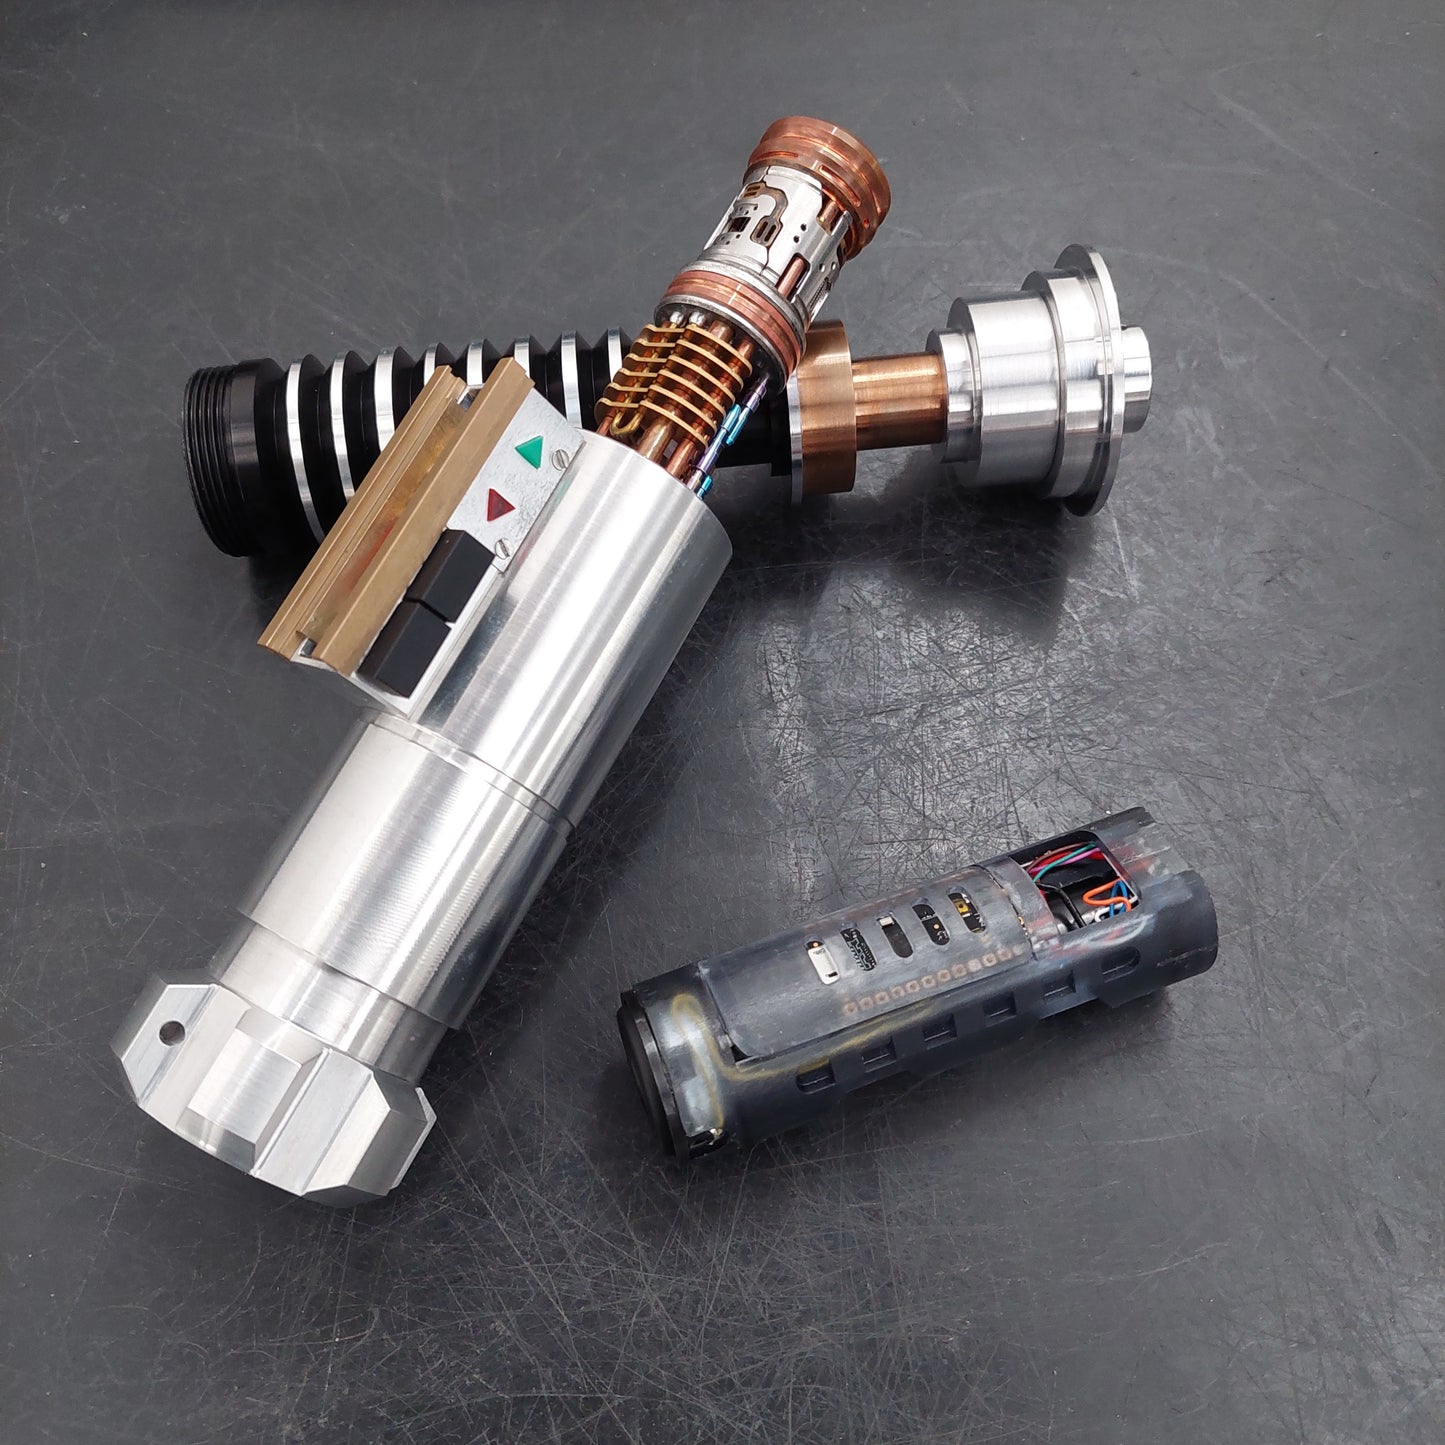
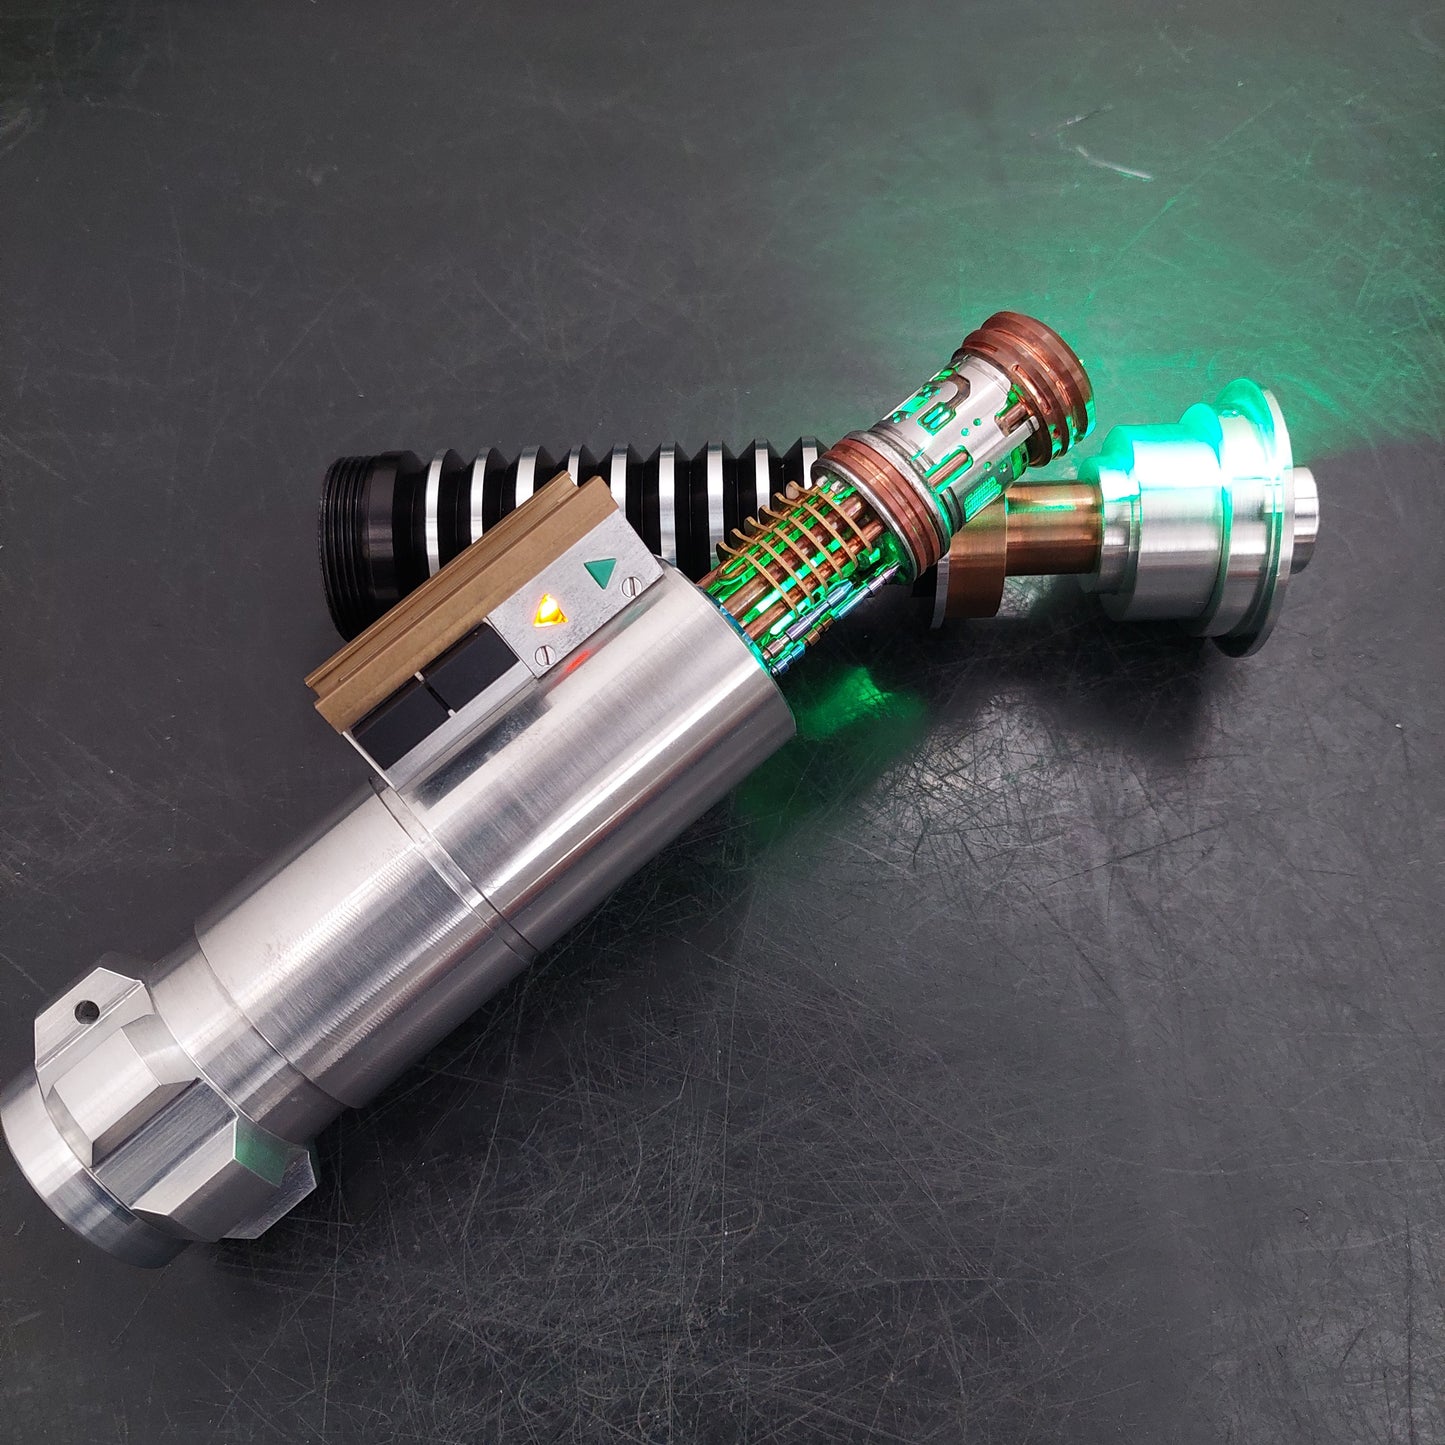
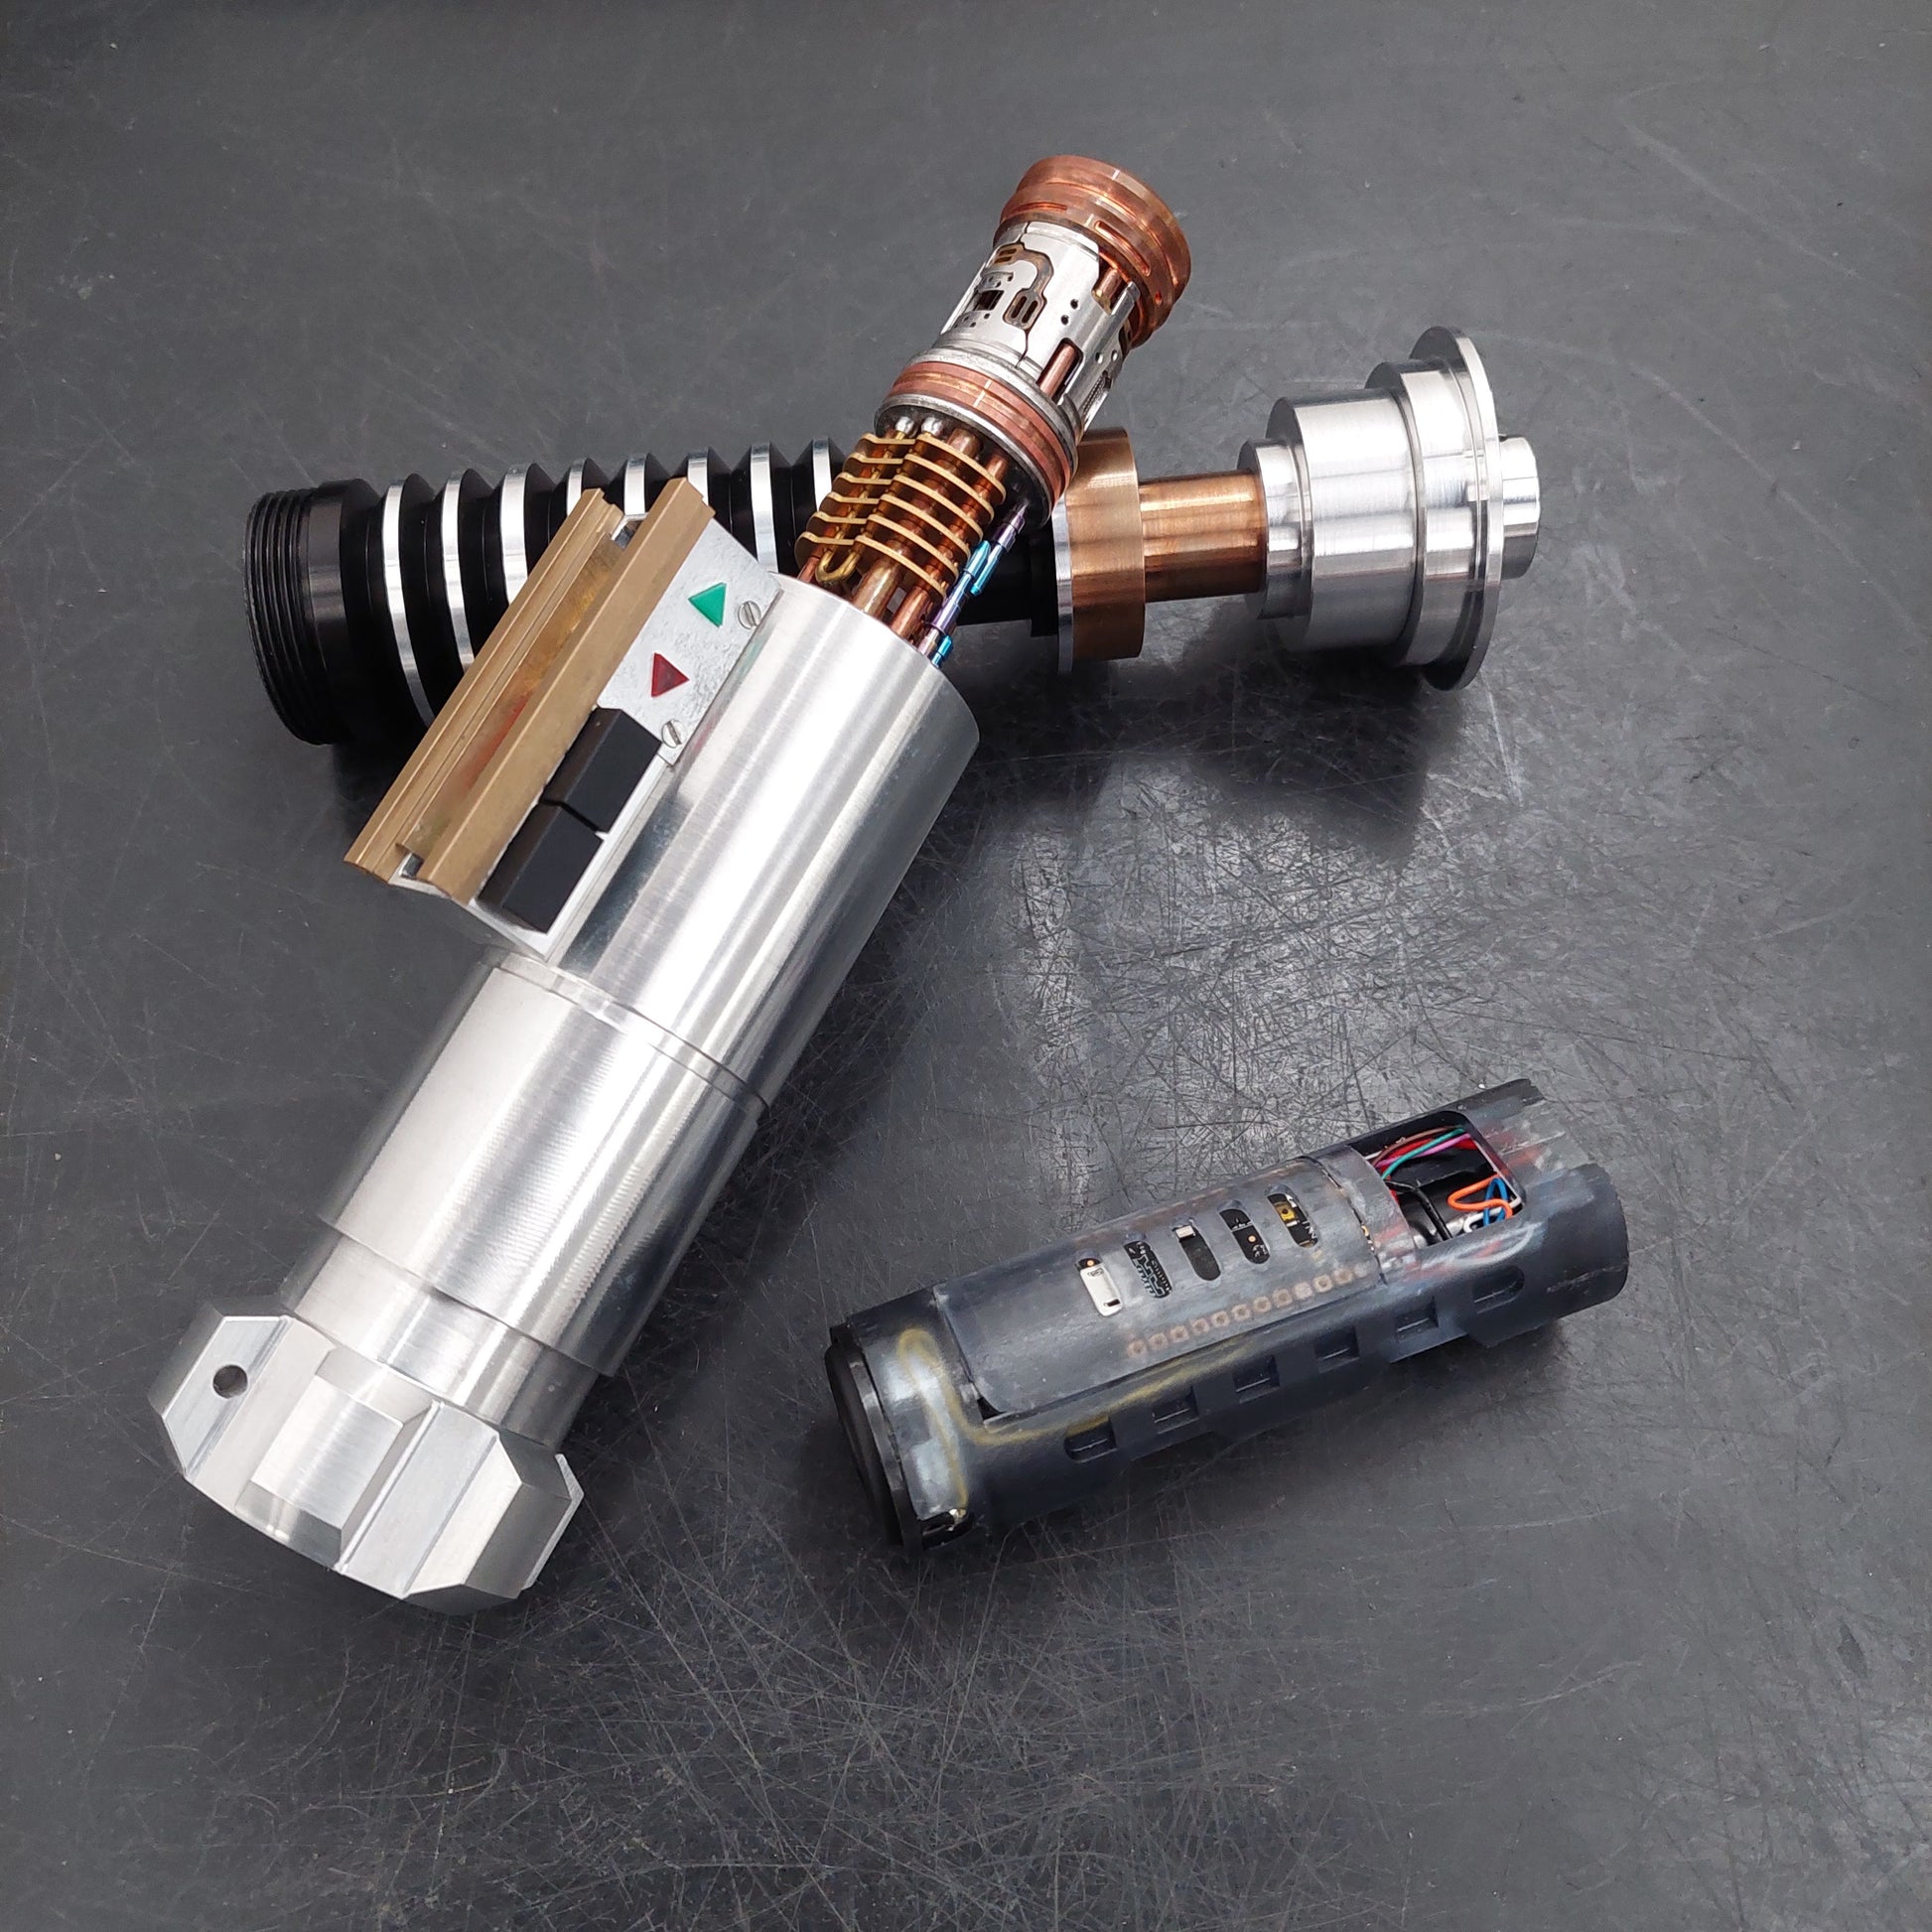
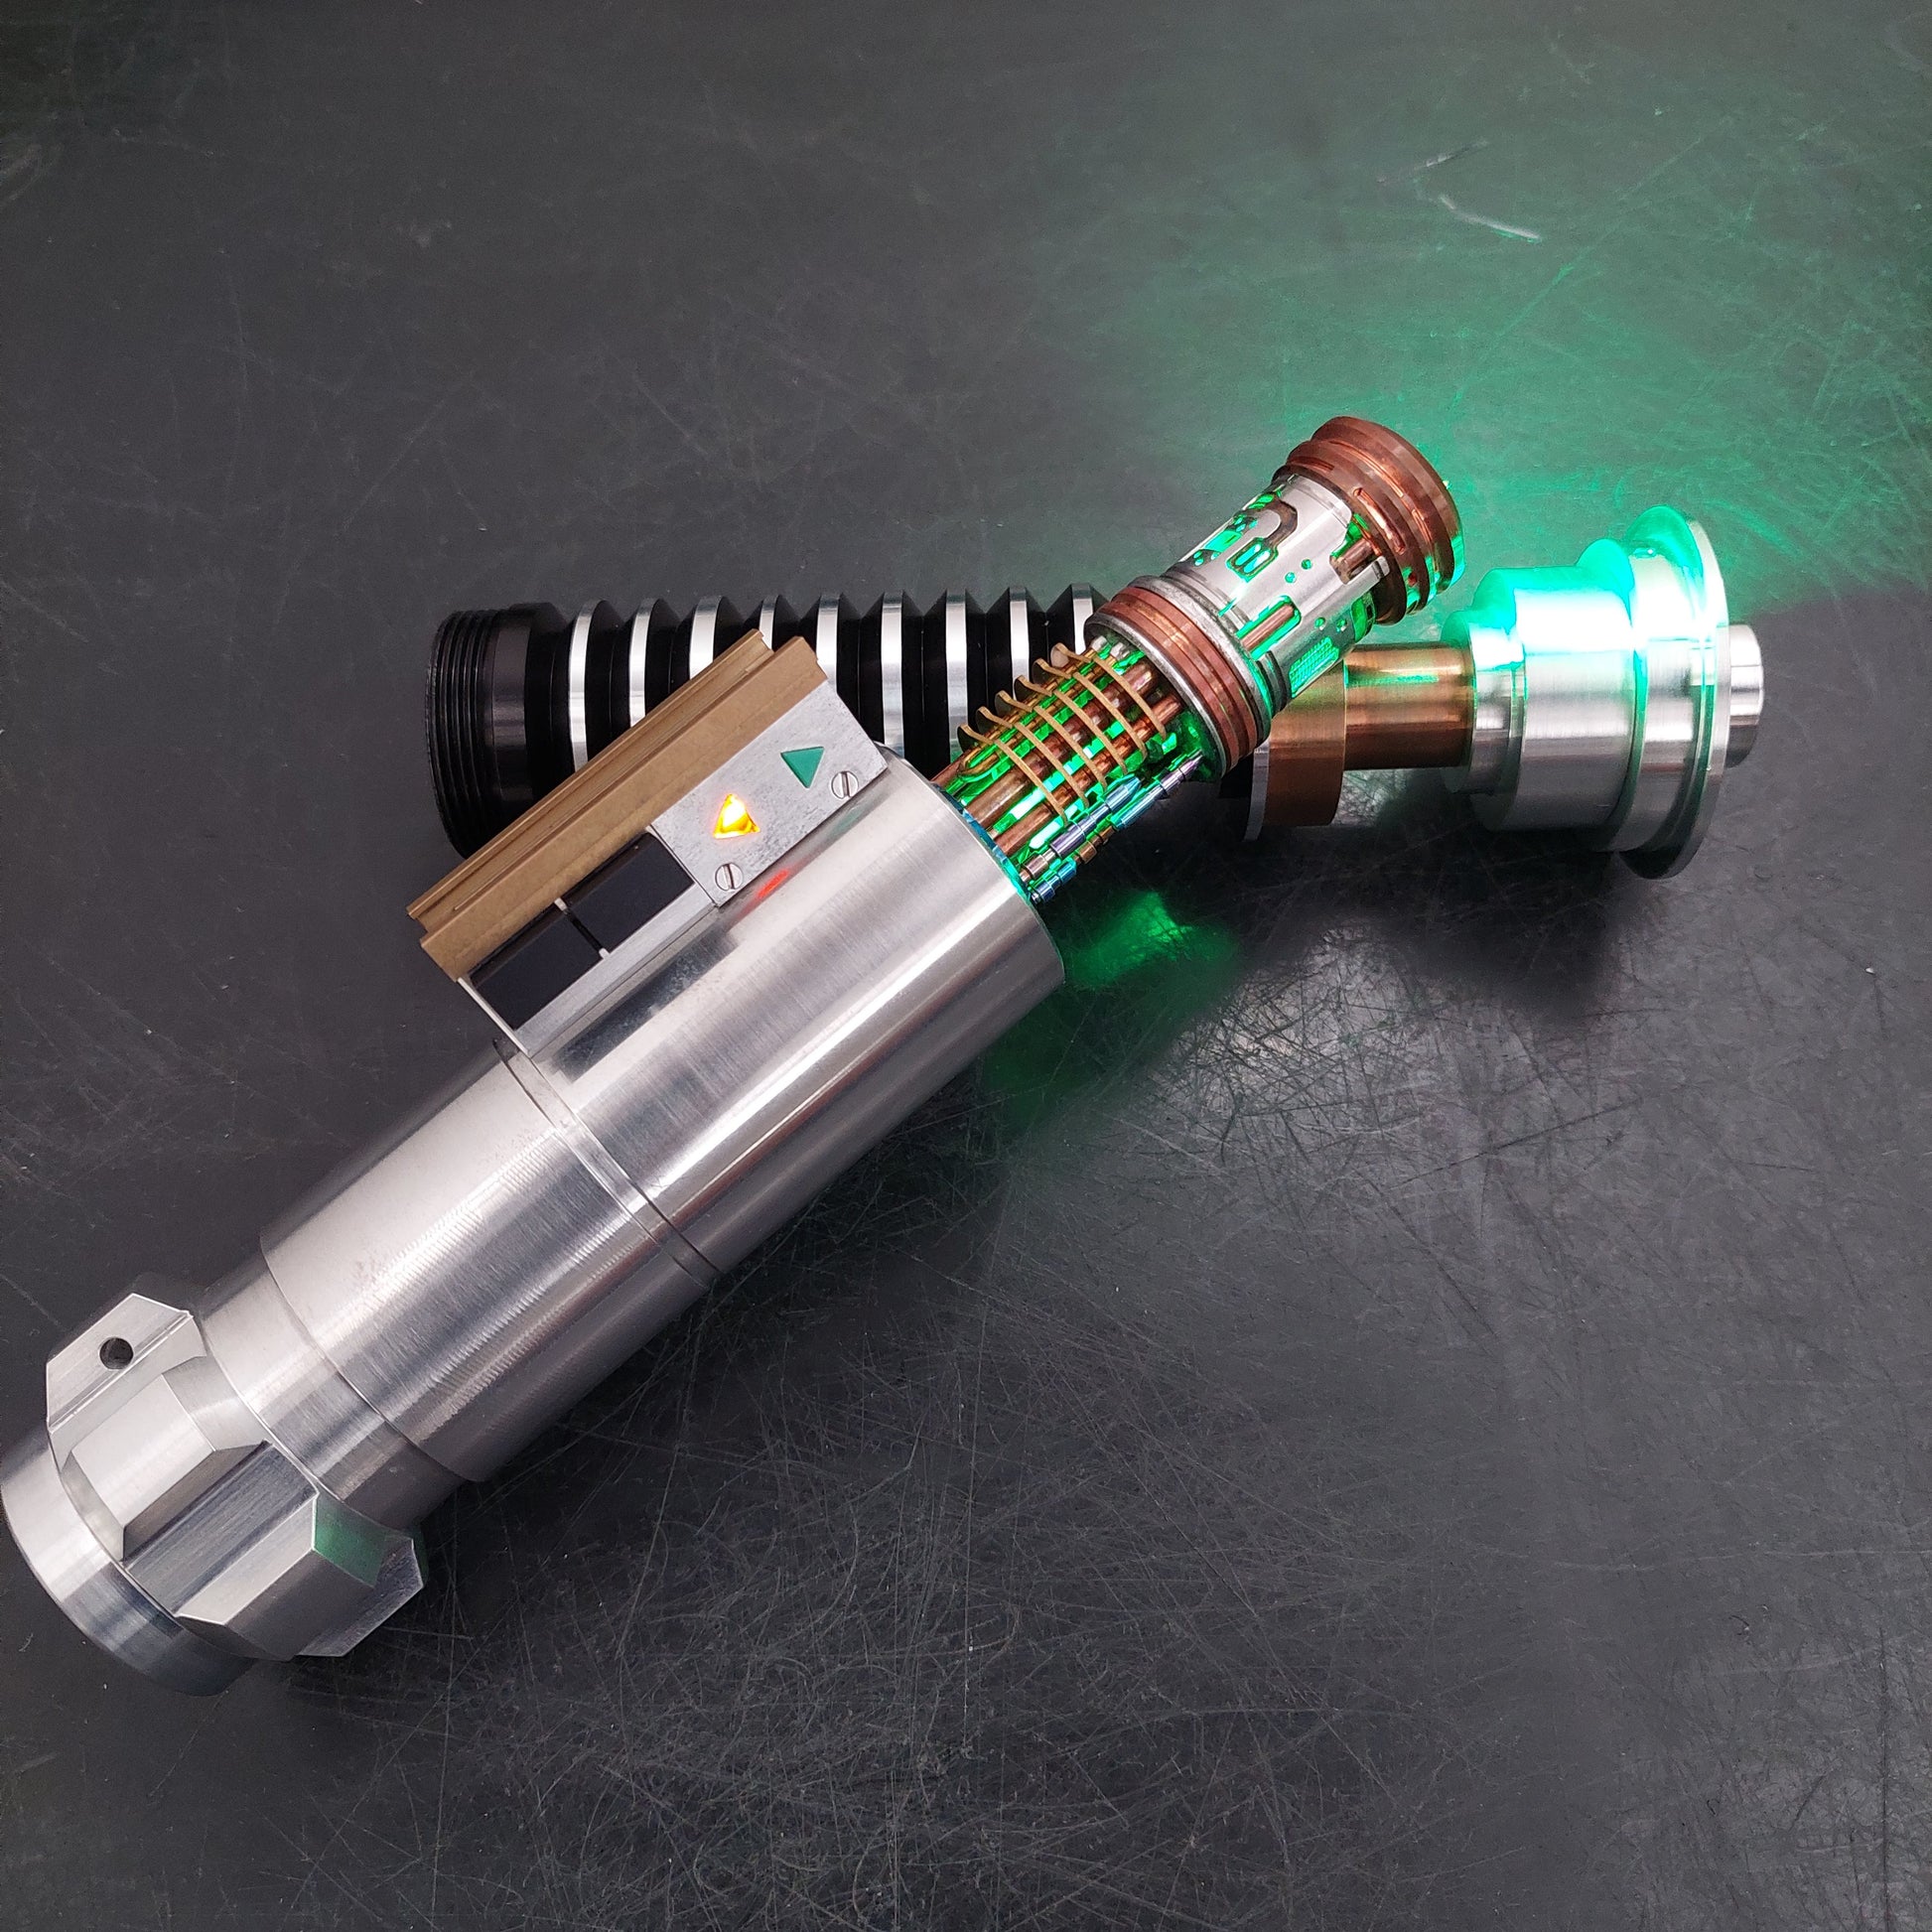
Chassis for Veracity Labs/BRRogers/7Chambers MoM Luke Hero MoM Magic of Myth with their full metal crystal chamber. Chassis will also works just fine without the crystal chamber, you will just have an empty grenade section. This is STL digital files only, you print and install it yourself.
Yes, this is FREE STL chassis. Given the effort and passion poured by Veracity Labs and BRRogers to make the hilt into reality without asking for reward or compensation, i'd like to return the favor by giving the chassis that i designed to the community for free.
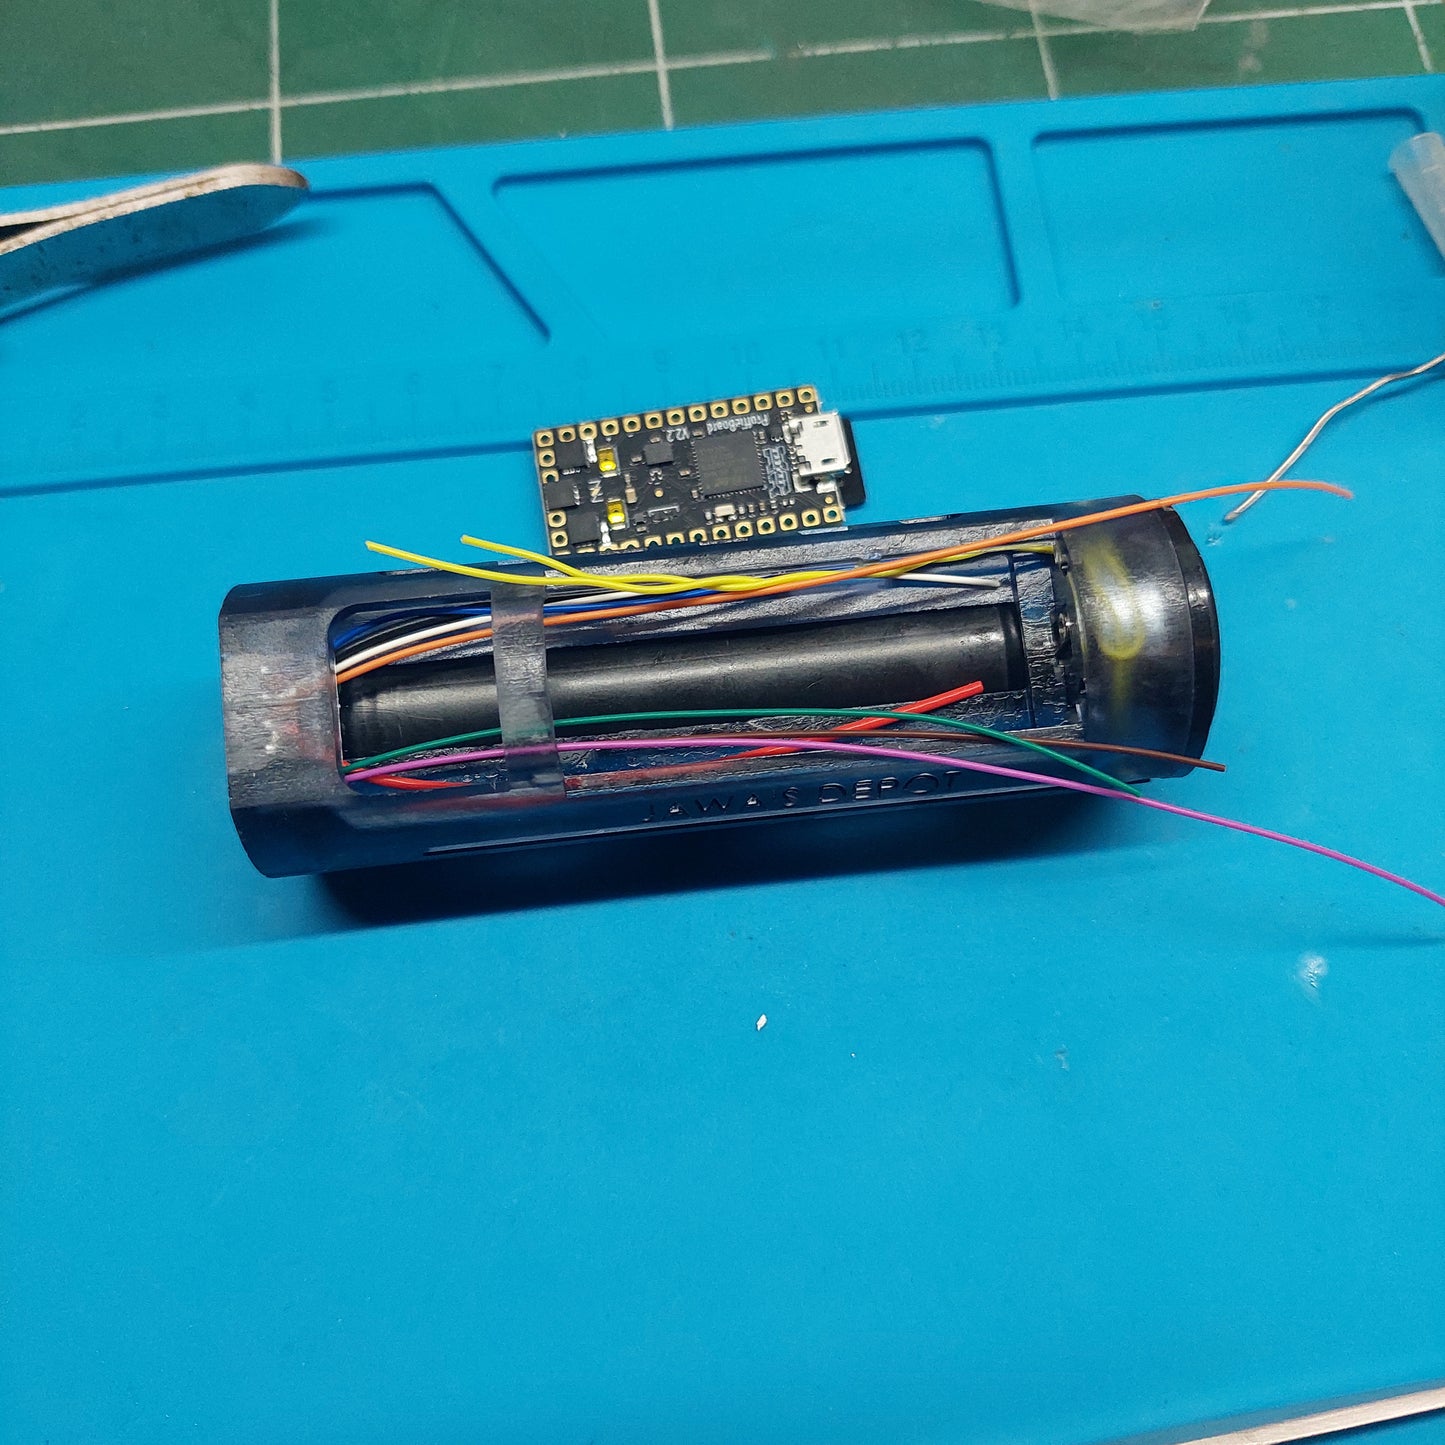
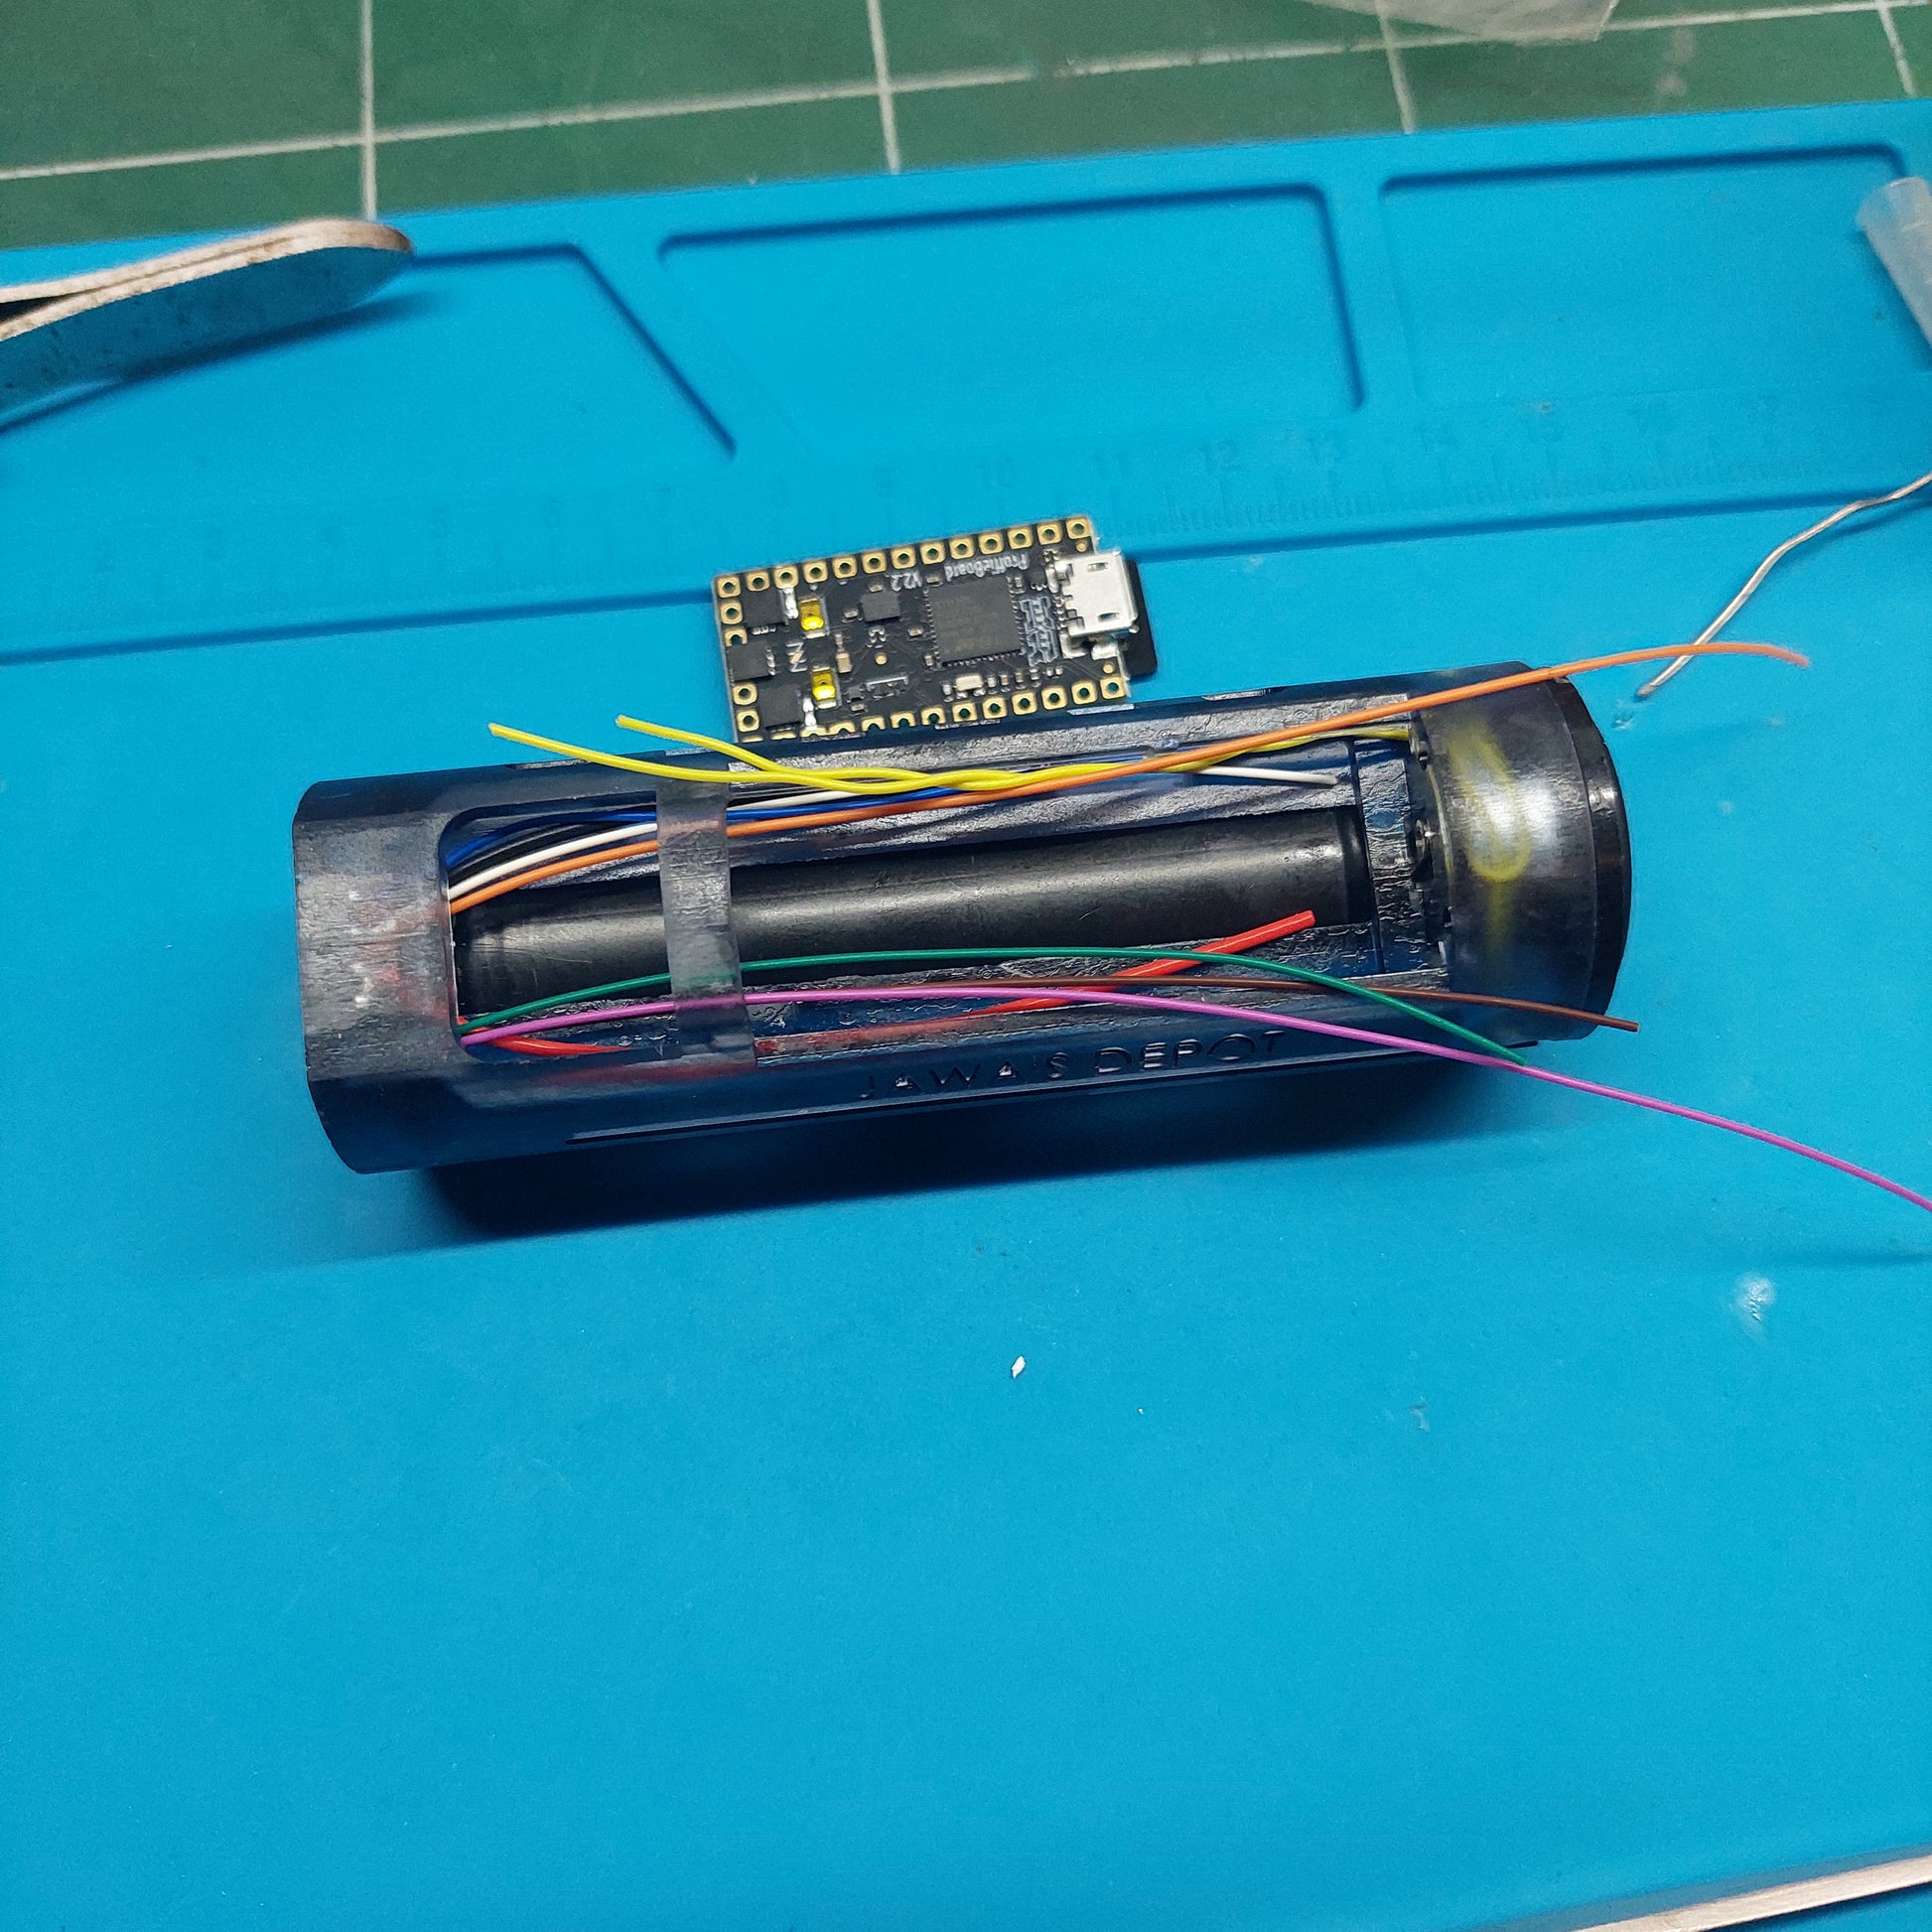
This is 2-part chassis with removable core which houses Proffieboard, Speaker, and removable 18650 battery holder. Optional soundboard cover part with holes for 2 sets of 2mm magnets. They were tested print using 3D Resin printer with Siraya Tech Build resin. Yes i did the 3 feet drop test, no damage. SLS should be fine, FDM however i didn't test them.
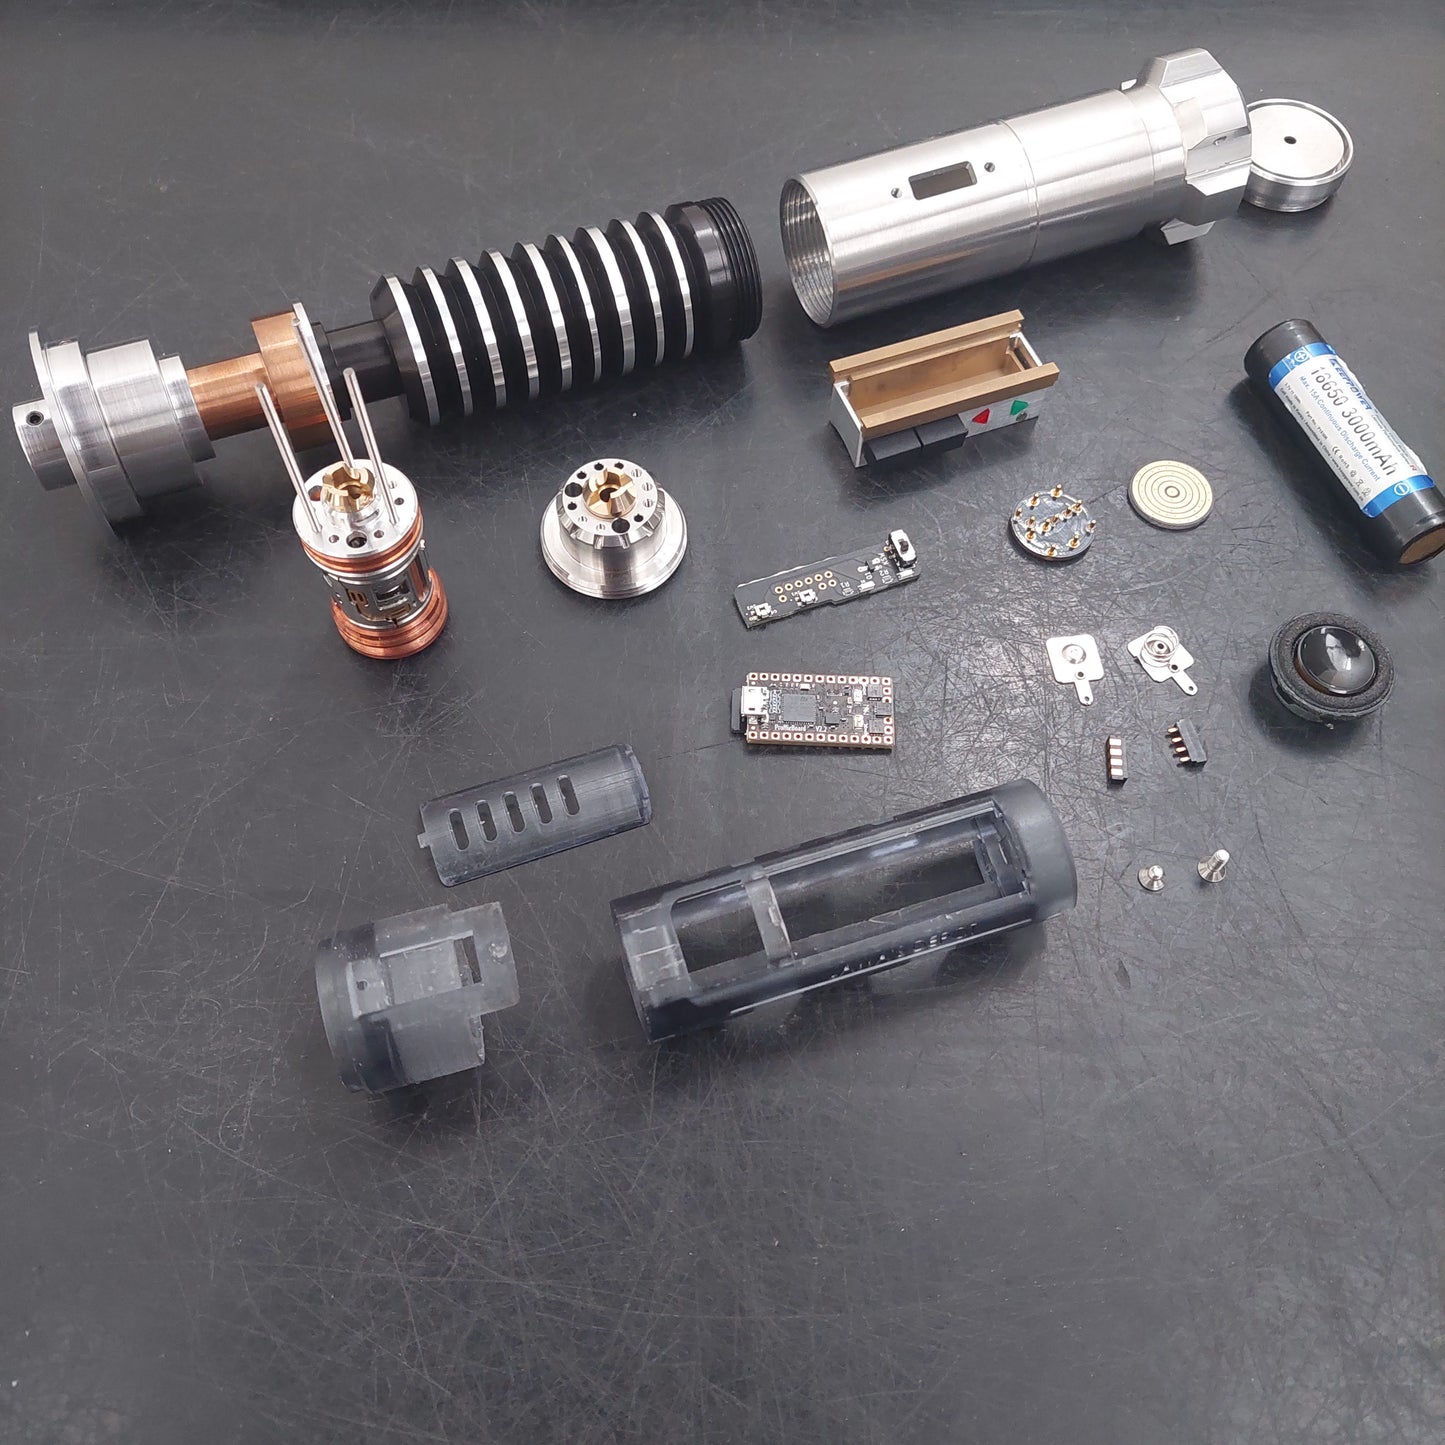
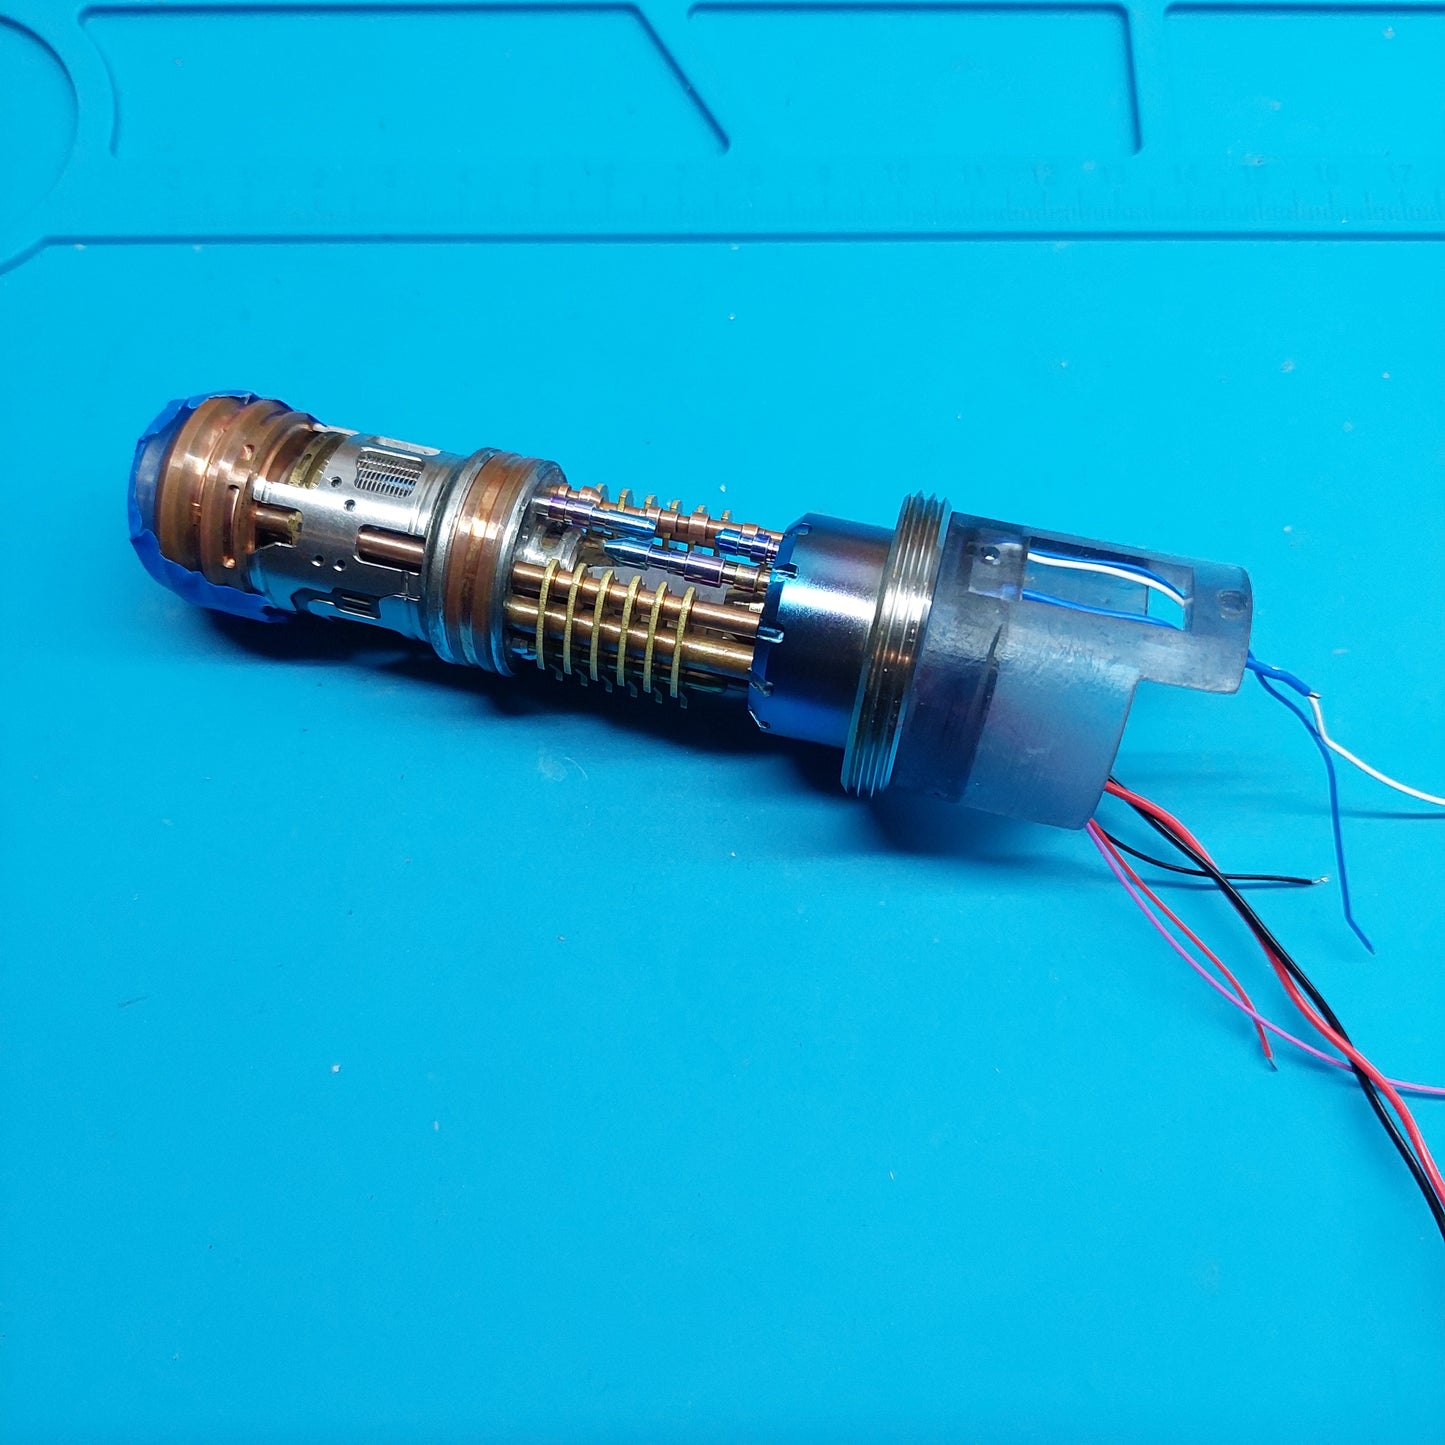
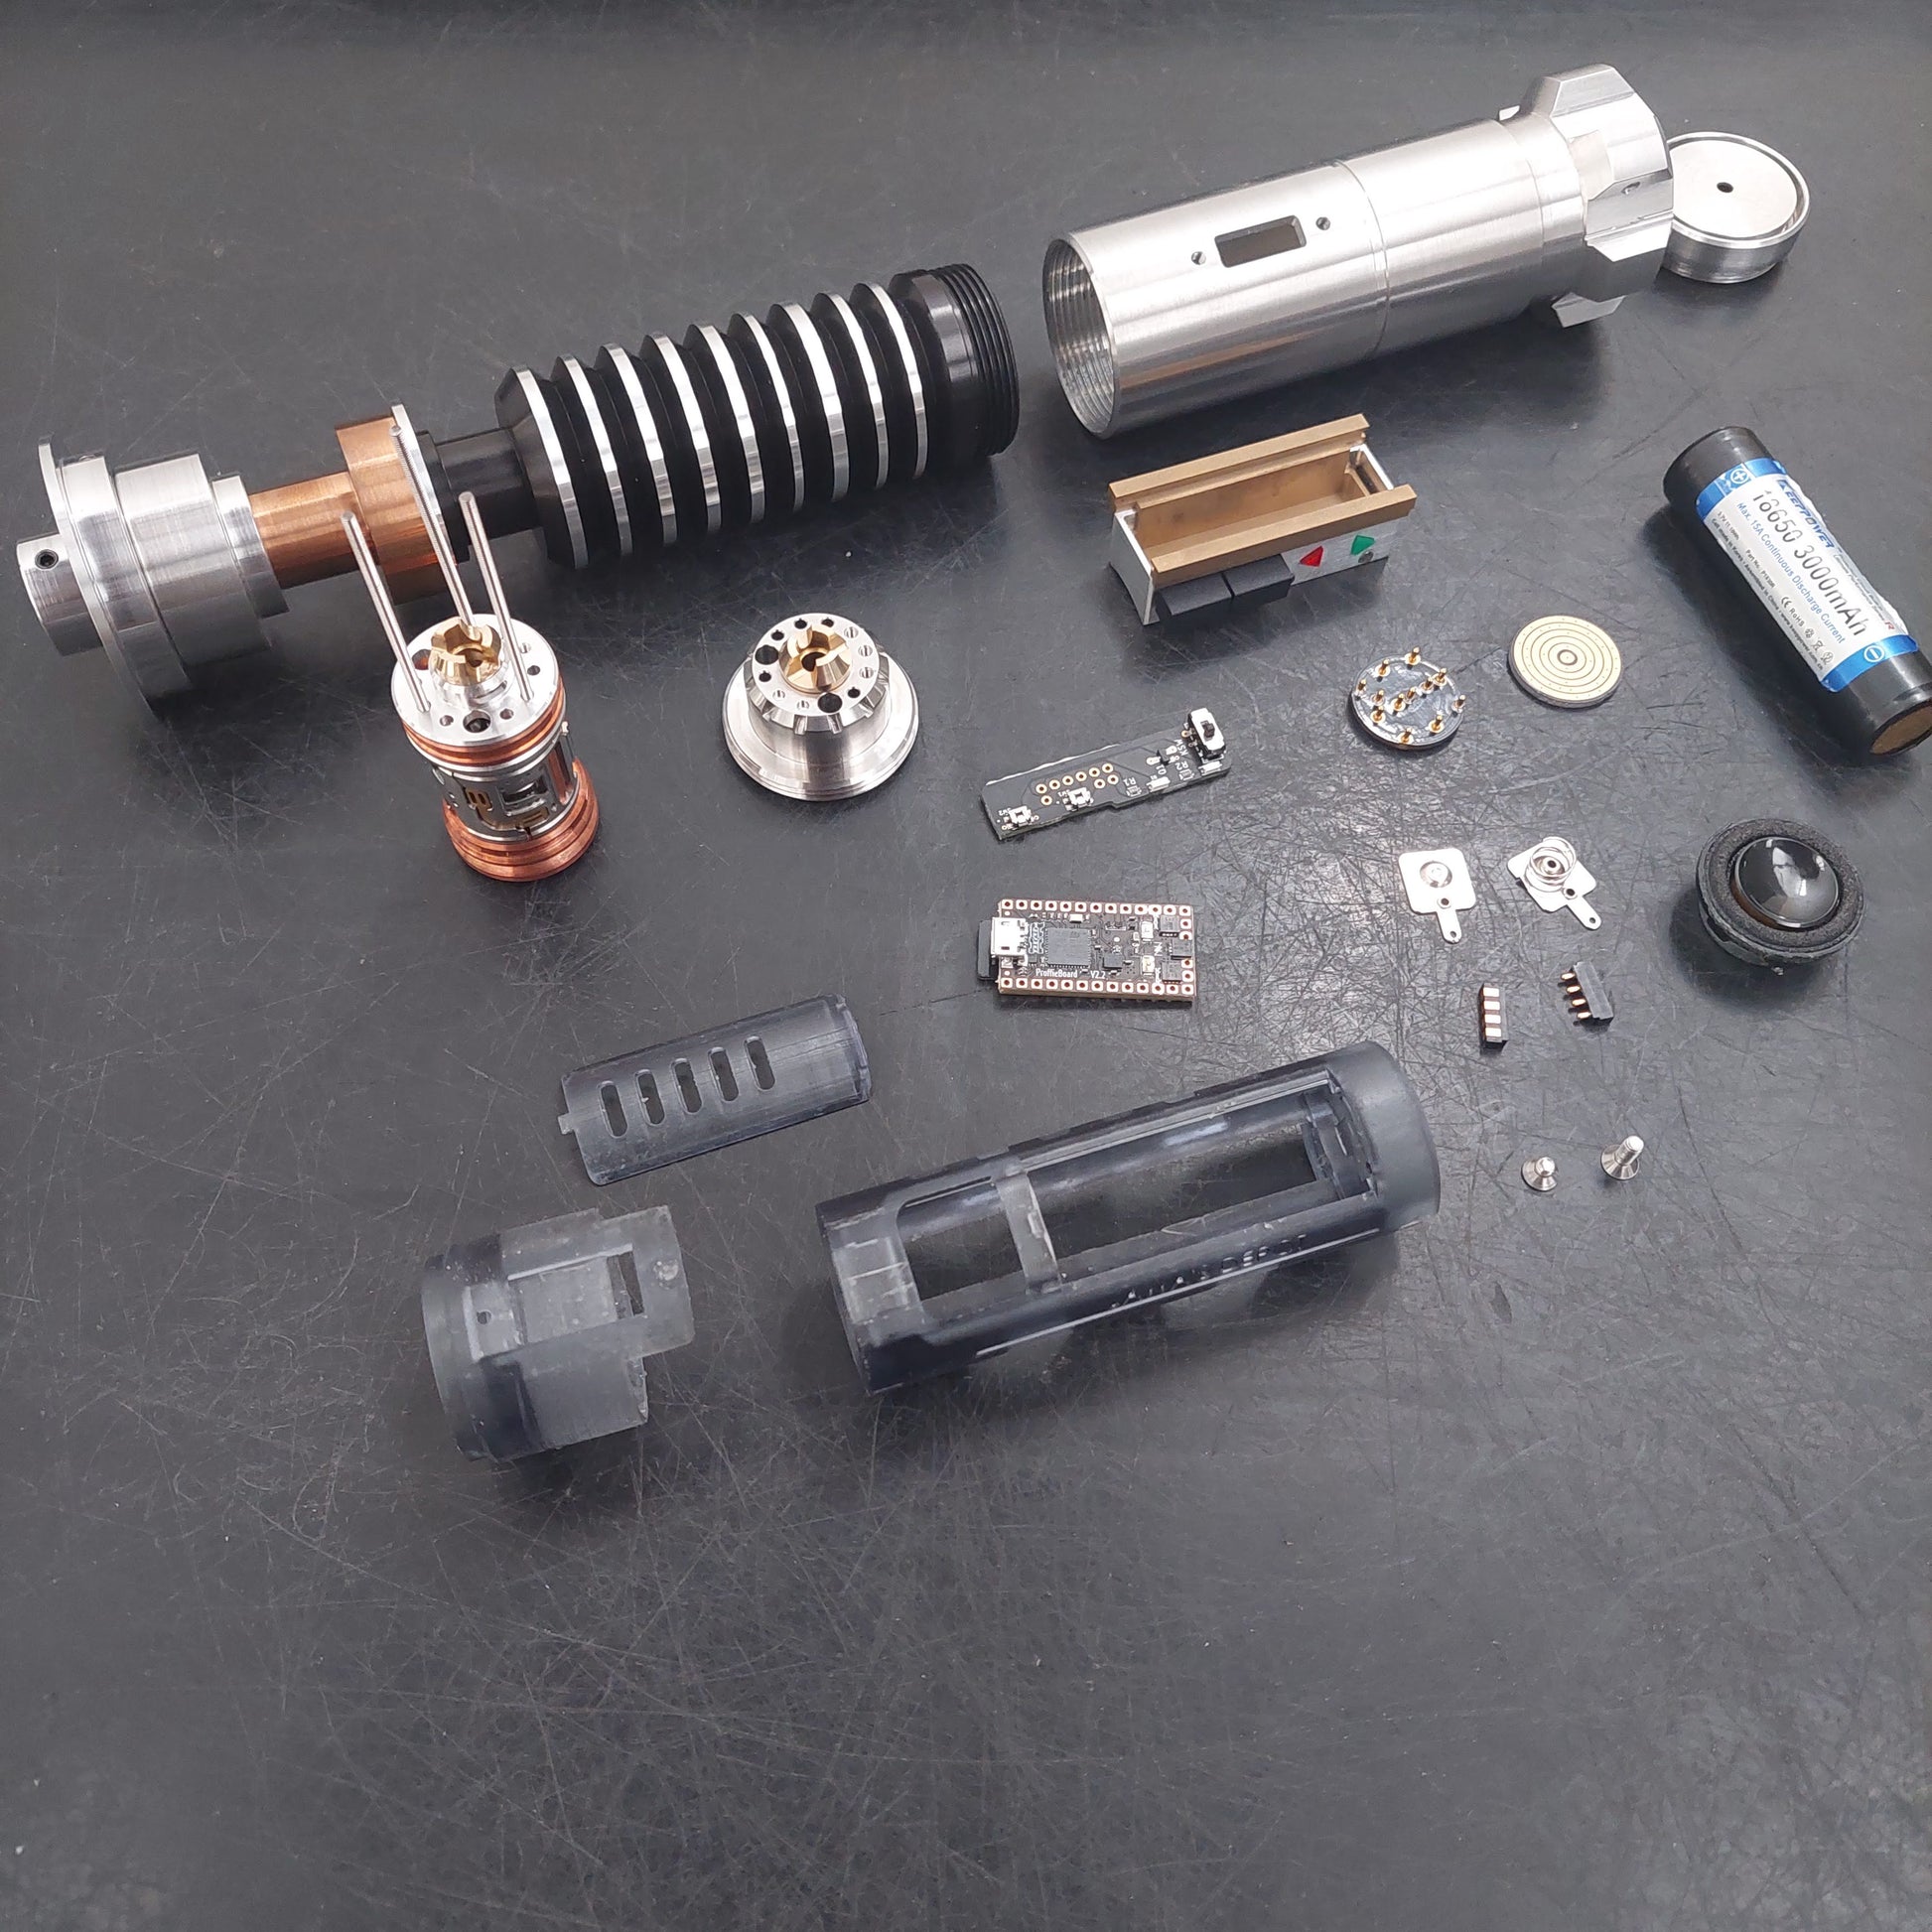
You will need to acquire yourself (refer to picture):
- MoM hilt ;
- Crystal Chamber (also work without);
- Proffieboard 2.2/3.9;
- Battery Li-ion protected 18650;
- Battery contacts;
- 28mm bass speaker;
- SCWX Rotary Neopixel & 2 Button pcb connector;
- Blade-hilt pixel adapters of your choice;
- 4-pins SMT spring loaded connector with cross-section 2.5mm x 10-11mm and uncompressed pin height no taller than 4mm; and
- Longer M3 countersink screw to replace control box provided screw for inner chassis retention. One screw is sufficient although I put two pilot holes if you want to replace both screws. I used 8mm in length.
The 4-Pins connector is for (assuming you have Helper Board v2):
Pin1 = Kill Switch-to-Board Batt+
Pin2 = Extra* (you can use for second Batt+ interface or extra data line)
Pin3 = LEDx arrow neg- (data2 if you have Helper Board v1/pixel LED)
Pin4 = LEDy arrow neg- (data3 if you have Helper Board v1/pixel LED)
*/ load test the pin if it can handle up to 1.5amp. If it can handle it without issue, you can just use one pin for Batt+. Otherwise, use two pins.
For flexibility, I made sure the chassis can accommodate different types of 4-pins SMT; 10 or 11mm wide and 3 or 4mm uncompressed pins (see video below). If your SMT has shorter pins, just add a dip of hot glue or tape inside your pommel cap corner to ensure good contacts.
To get the download link, you just need to add to cart and do checkout. There will be no payment processing as it's free. The link will be available after completing the checkout process.
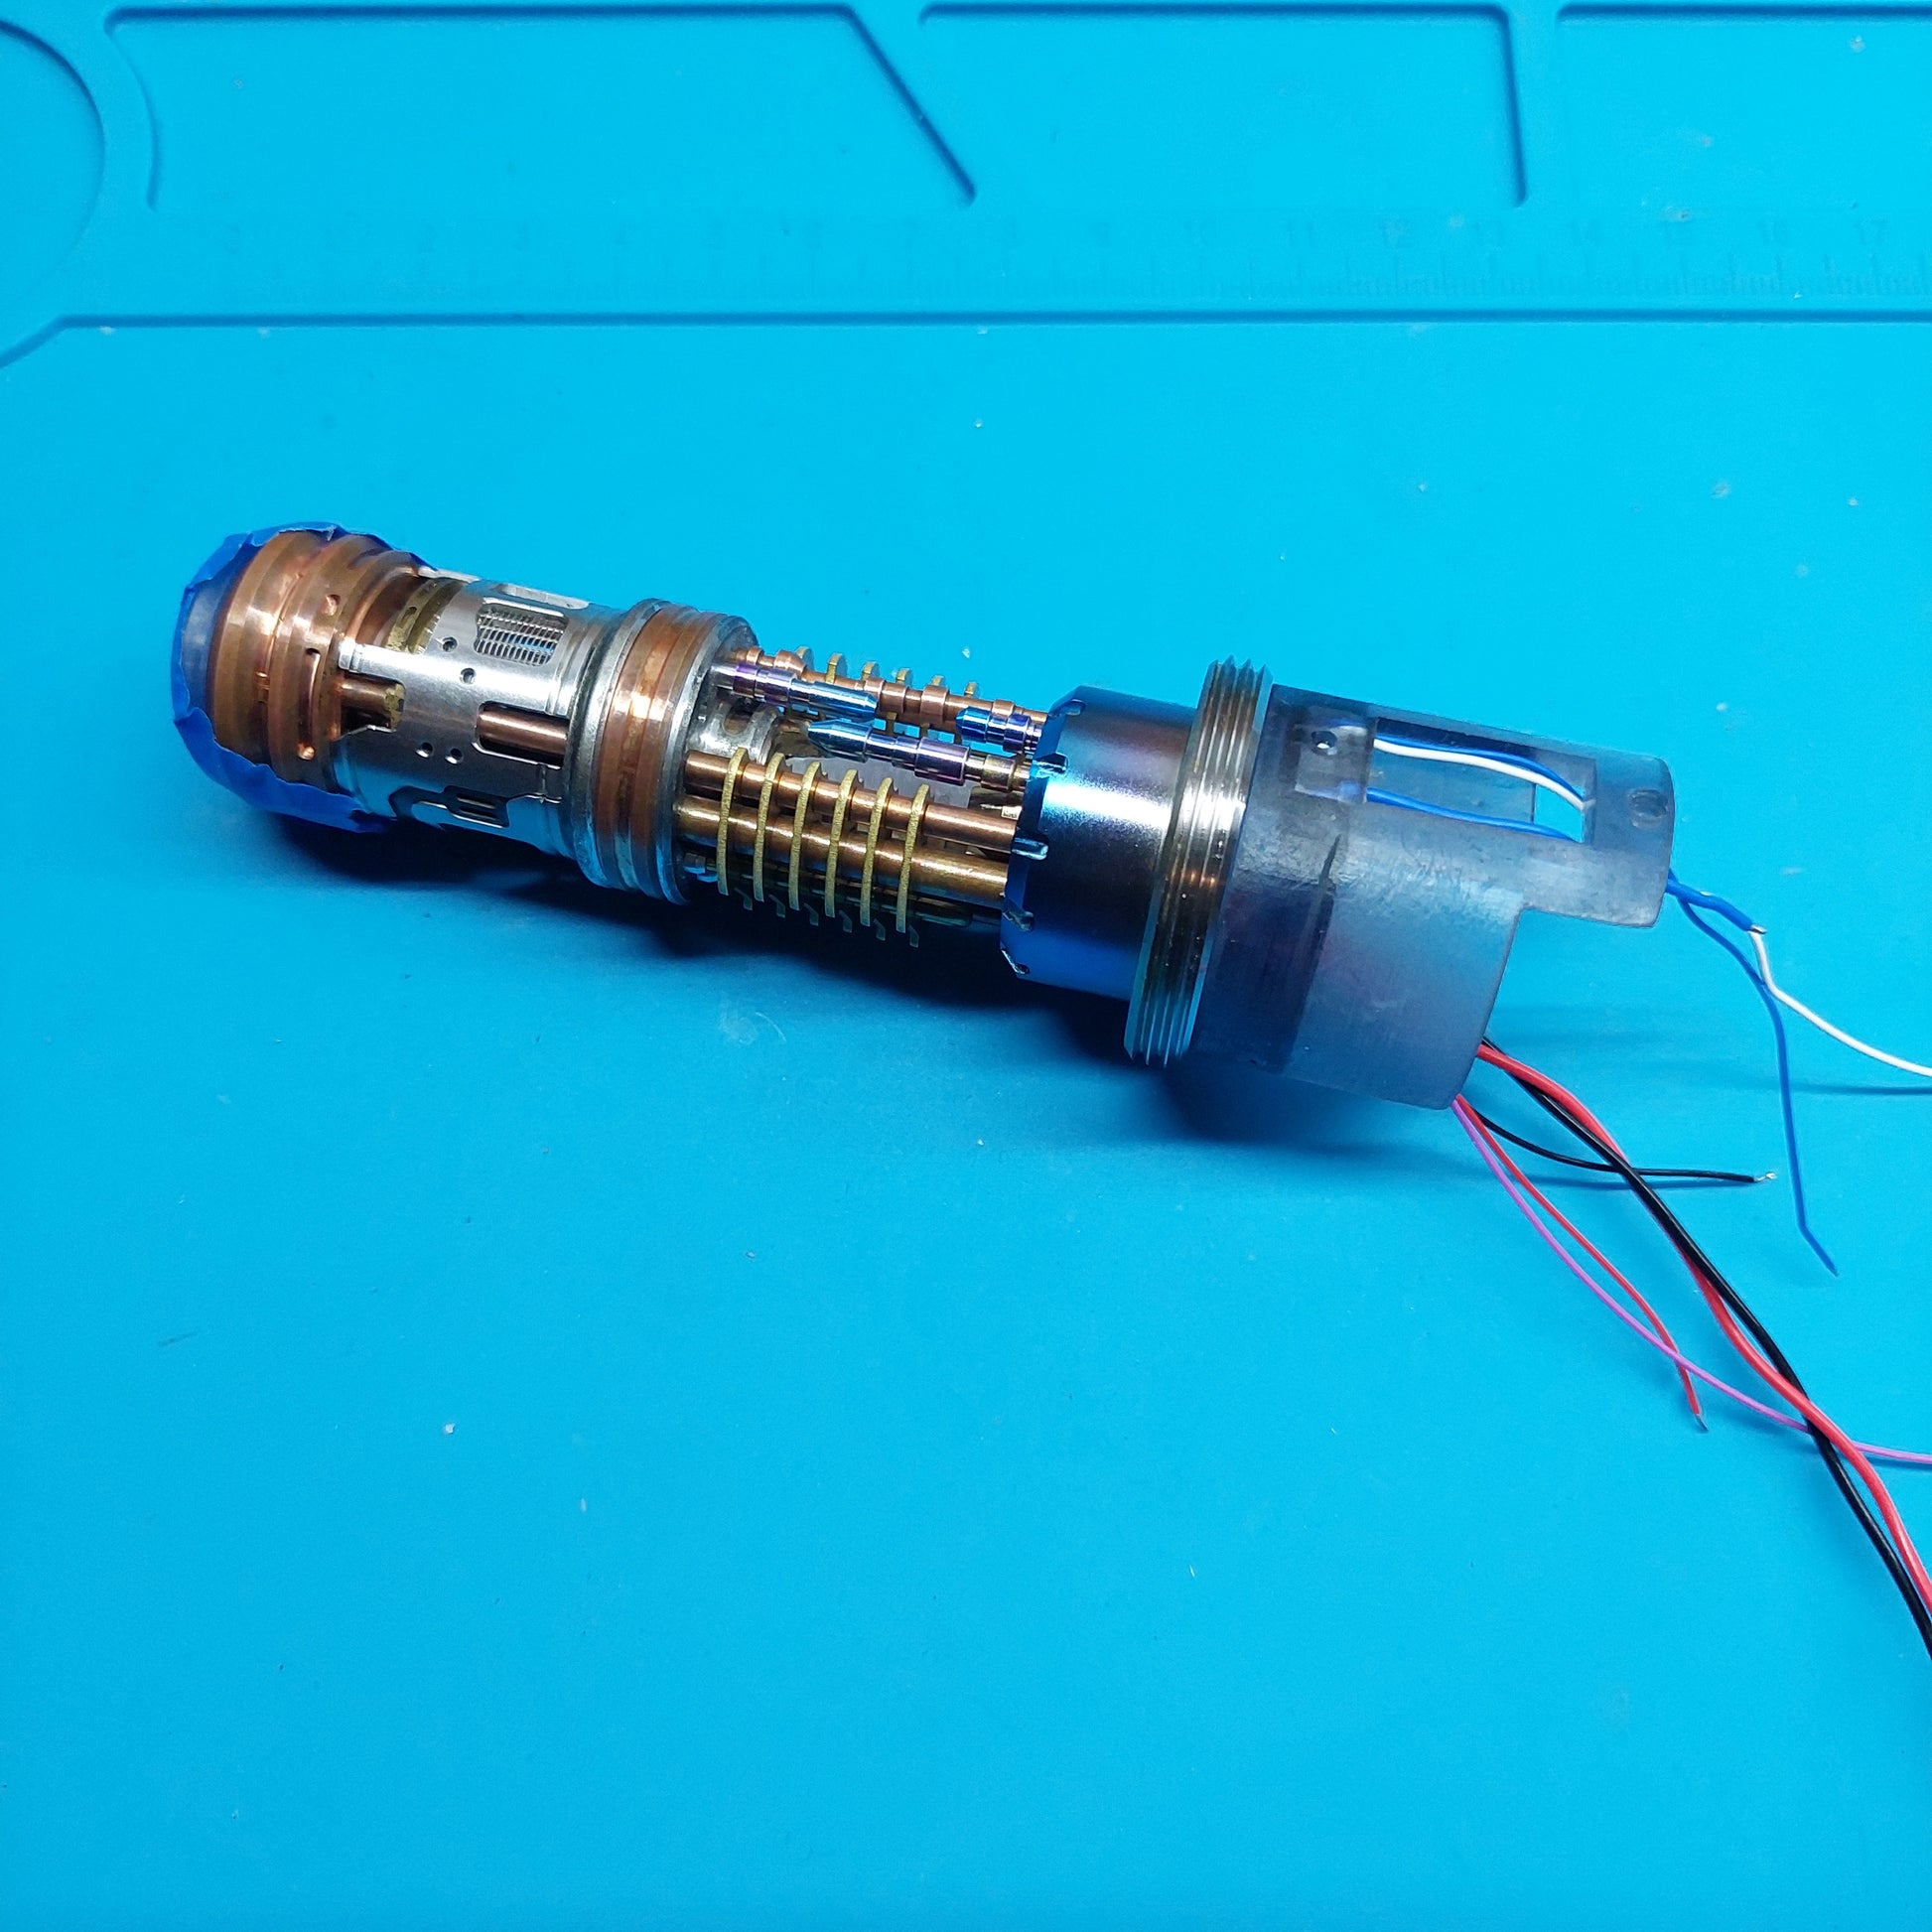
I hold no responsibility of any damages during your installation. If in the future you need to do maintenance (dead crystal LEDs, etc), you just need to unsolder the helper board, tuck in the control box wires inside then unscrew the crystal chamber... viola easy peasy.
If you wish to commission me a complete finished kit, contact me via email, Messenger or Whatsapp.
Share
